

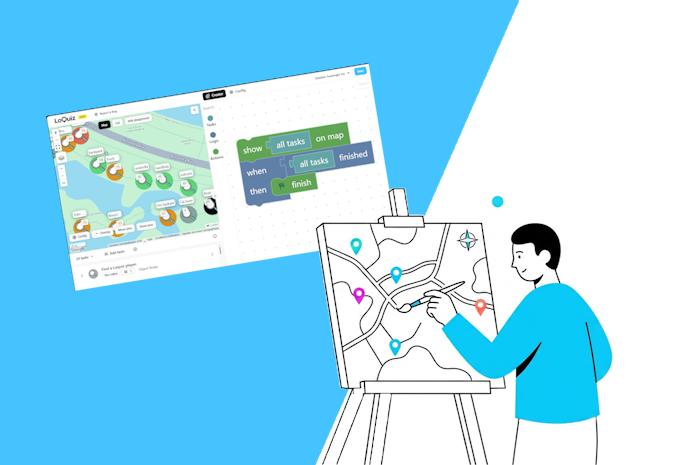
The new Creator has slightly changed the way we use Loquiz to create games. In this transformation, we’ve added a few features that were based on our user feedback. So here in the article, I’ll show you 10 underrated features from the new Creator that you might have missed.
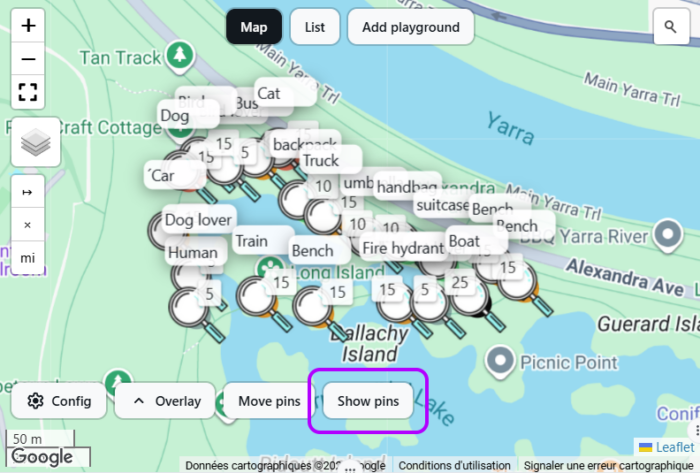
1. Show pins
You’re working on your Loquiz map, and suddenly, you’re virtually far away from most of your pins? You don’t need to scroll all the way to the pins: The button “Show pins” gets you covered.
2. Edit pins from the Creator
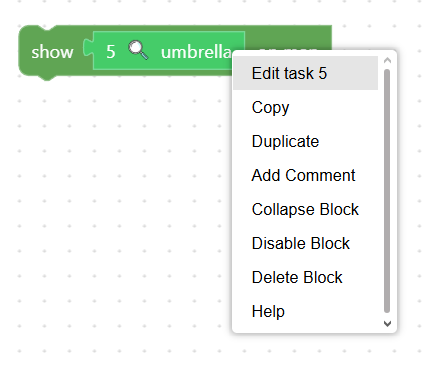
When you’re working on the Creator, you need to edit some specific tasks so their logic or design is coherent with the rules. If you just right-click on a task, you can open the corresponding task’s editing page.
3. Switch views
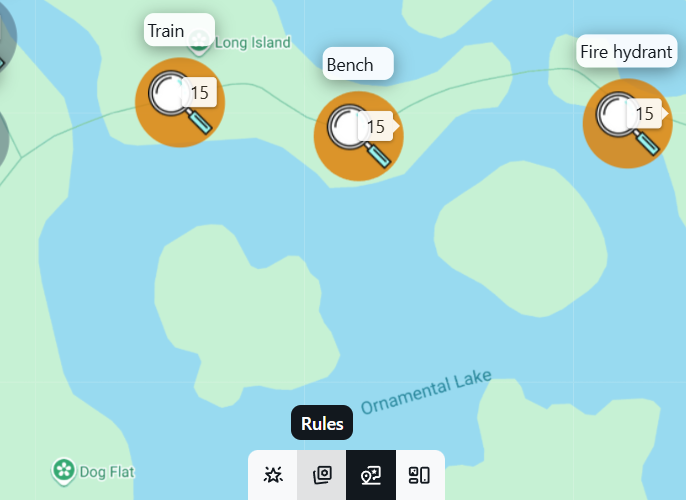
When you’re on your tablet or mobile phone, you might not want to have the Creator logic, map, and task list all at the same time. Maybe you just want to check the map. With these bottom buttons, you can quickly switch from one view to another:
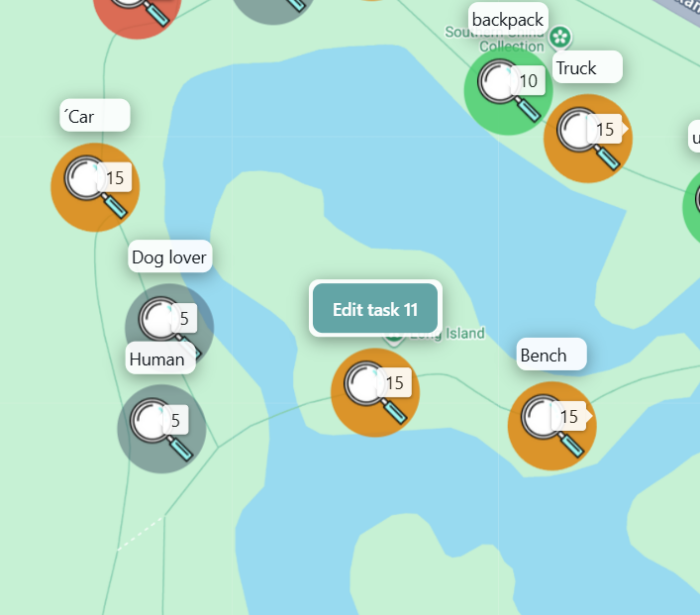
4. Edit tasks from the map
The same is possible… From the map. Click on any task, then you can immediately edit the task. Before, you needed to find the corresponding task in the list. But now that’s a thing of the past.
5. Snap icons to grid on the playground
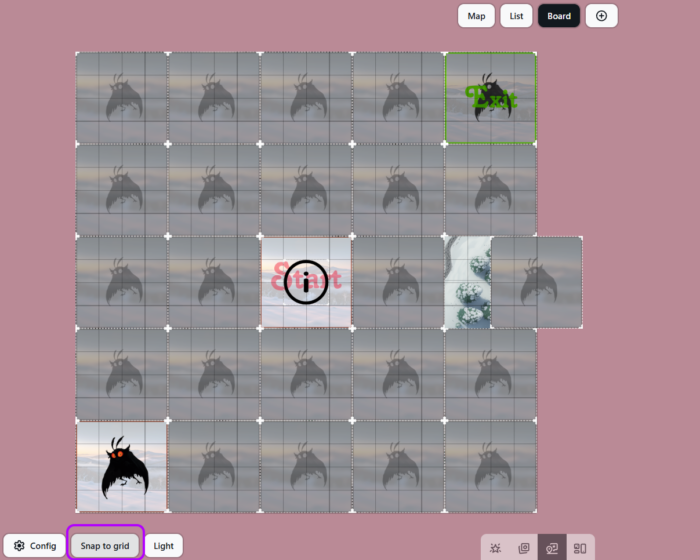
Do you need to perfectly align the tasks in your playground? Click “Snap to grid” in the bottom-right corner. A grid will appear, allowing you to organize each task more easily. This is useful when you want to create a clean playground with everything aligned, without spending too much time adjusting each task pixel by pixel.
6. Duplicate tasks within a game
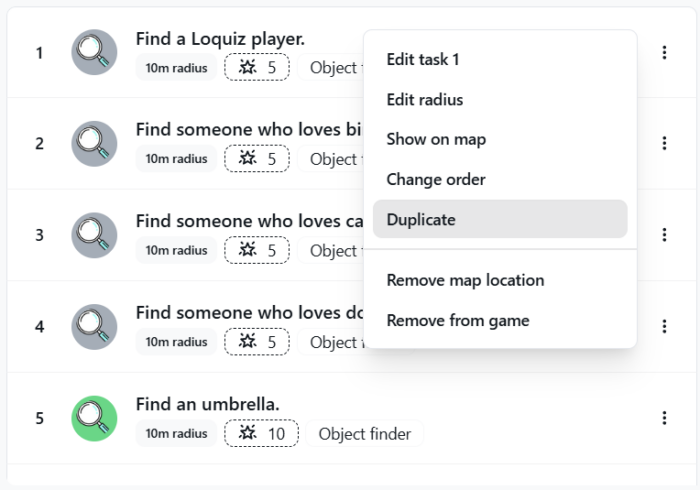
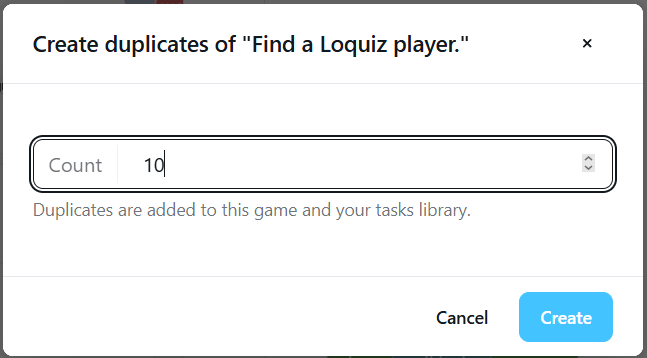
When you start building a game, you have to organize your tasks. For example, 20 tasks will go on the map, 30 tasks will be quizzes, 10 tasks will appear on the playground, etc… When you create these base tasks, you don’t need to duplicate them one by one. This is time-consuming if you have 100 tasks in your game. Instead, you can use this duplicate feature:
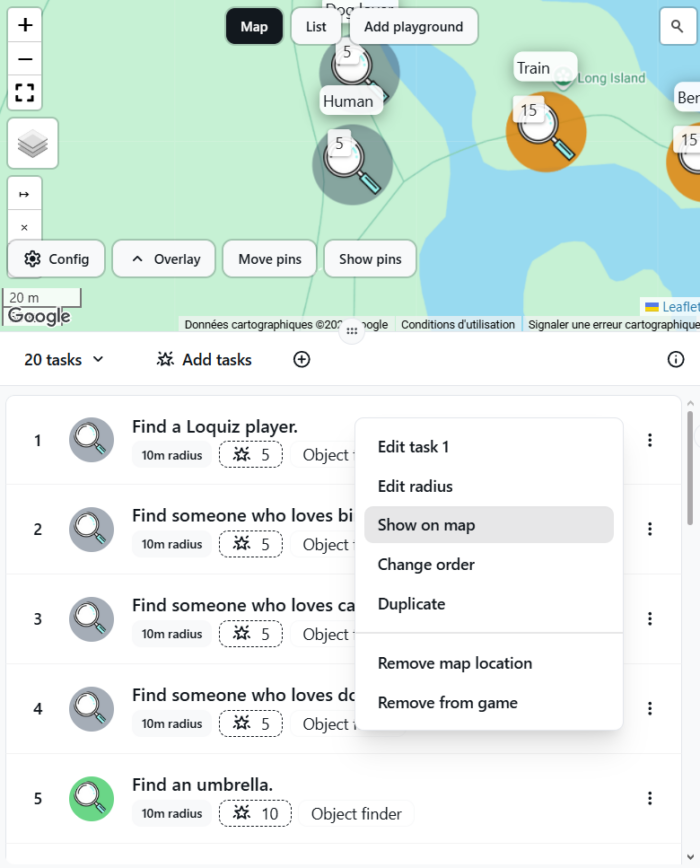
7. Show a task on the map
Some tasks need to be located in a precise location, and you might not find them immediately. This is even more the case if your game has a lot of map tasks. So from the task list, you can click on “find task” to locate it on your map.
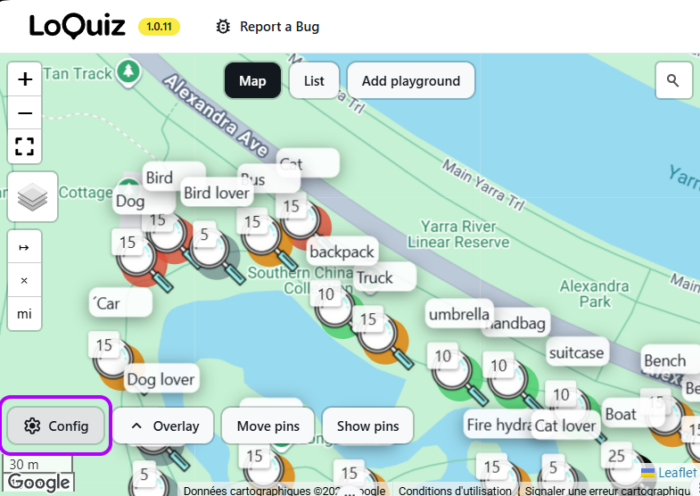
8. Quick access to the map Config from the Creator
On the bottom left of the map, you’ll find a button that leads you to the map Config page. You’ll be able to quickly edit the different settings for your Loquiz game’s map.
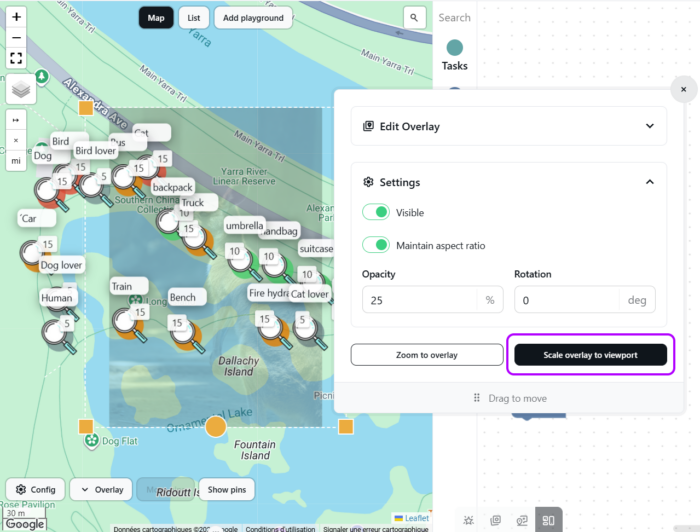
9. (very) Quickly set your overlay picture
Does it take a lot of time to move an overlay picture to your desired location? Forget about it. Just center your map to the place where you want to set up the overlay. Then click on “Scale overlay to viewport”. Your overlay picture is immediately where you want it! Eventually, you might need to adjust the size of it before it’s definitely ready.
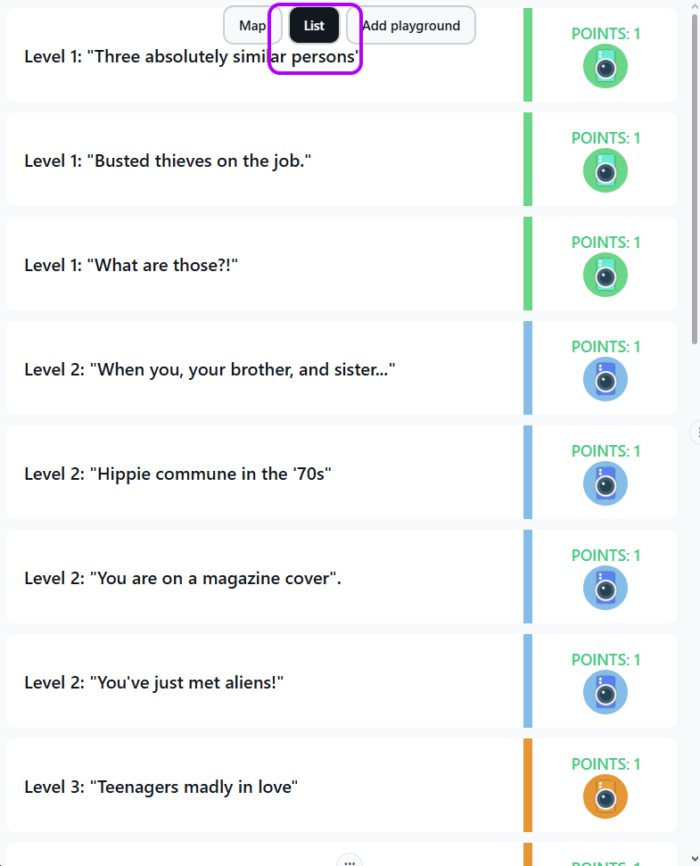
10. Preview the list
If your logic includes some tasks to show on the list, you can now preview them from the player perspective. Just click on the “list” button, and you’ll access it.
On a final note, I hope you feel comfortable using the Loquiz platform with its new user interface. If anything feels difficult or creates friction, please let me know and send me a message. Your feedback is valuable to us as we continue developing the Loquiz Creator.
Related stories
In this video tutorial, I show you how to create an Outdoor Scavenger Hunt in your own location. It just...

Sometimes clients request games from us that are competitive. There needs to be a score, a ranking, and a clear...

When you create a Loquiz game, you can make it more visually appealing with custom pins. Add pins related to...
Start free trial to bring your ideas to life
Sign up and create games, tours, team events and educational content that captures peoples' attention
Start from the scratch or use templates to kickstart!