
Loquiz now allows game creators to create a picture overlay over the map. It works so that you create a picture file and place it over the map in Loquiz PRO. You can calibrate and rotate the picture and set the transparency so that the underlying map shines through.
You can read detailed descriptions about how the feature functions in the support section. But there are some situations where this feature really comes in handy.
1. Complementing Google and Apple map
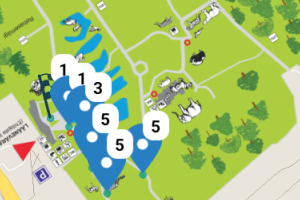
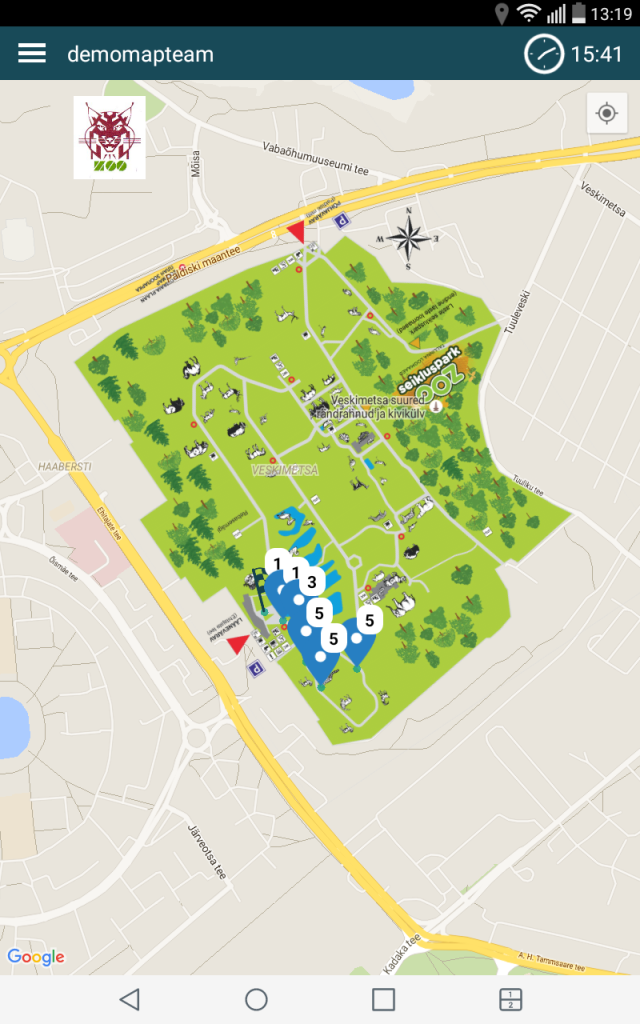
There are loads of places where Google and Apple maps just show green. Usually, in this case, not much is visible from the aerial image as well. If you have local maps, local aerial images or orienteering maps available for the area, then you can scan, or screenshot a picture file of this and place it over the existing map. That way navigation becomes easier and more fun.
2. Augmenting base maps
This is adding some info onto the map that was not there but still relying on the base map for navigation. You can add writings, missing roads, or mark areas. It is best to use .png files for this purpose and make sure the background is clear, not white. A really cool way to augment maps yourself is to take any sports tracker and walk through all the tracks in the area. Then, list those in your sports app and make a screenshot of your tracks. These can be used to augment an existing map.
3. Using thematic or old maps
You can create or use thematic maps. Sometimes venues have their own hand drawn maps available. Both, thematic and old maps have the issue of being very hard to calibrate. Also, take into account that you can not change the perspective in Loquiz. If changing perspective is needed, do that in an image editor and take google map as a base layer so it lines up later.
4. Hand draw a map that has nothing (or very little) to do with actual surroundings.
This can be for example taking a map of a whole world and reducing it so that player visit all the countries in the game. It is very important to make it clear that the map are not reflecting the surroundings then.
Making your life as easy as possible:
- Use quality maps if possible. They are way easier to calibrate.
- If you have to photograph a map make sure the angle is exactly 90 degrees in all directions. Otherwise, you will have a hard time calibrating it later.
- When drawing a custom map, use the actual Google map as a base. So that you can mark reference points and easily calibrate later.
- When trying to calibrate an old or thematic map, it might be easier to do that in an image editor (like PS or GIMP). Take Google maps as a base and resize the map so that it is north facing and as close as possible. Then, saving and calibrating in Loquiz PRO is easier.
- It is easier to calibrate maps that are to the north (maps in PRO are directed to north).
- Test with different levels of transparency – transparency will help users to work with the map.
Test your creation in real life settings. Maps that are off will make it harder to navigate, so use the feature sparingly and test, test, test. Not all the maps will work as a good overlay.
Related stories

If you have a game for an event tomorrow and haven’t tested it yet, then you might need to postpone...

In a typical Loquiz game, players solve a series of quizzes. In the normal settings, either they have one shot,...

As the game master, there’s a trick to influence the game in real time. And it’s not the live update...
Start free trial to bring your ideas to life
Sign up and create games, tours, team events and educational content that captures peoples' attention
Start from the scratch or use templates to kickstart!
